Thursday, February 27, 2014

A Faux Chenille Blanket for Baby Thomas

Baby blankets are something I love love LOVE to make!
I really like the thought of a little one wrapped up in the warmth of my creation.  I came across this tutorial several years ago and it's the second time I've made a faux chenille blanket (the first was gifted to my Bigelow mama friend upon the birth of her third lovely girl).   It's a way to use a fabric that you just can't stand the thought of cutting up.  When this Michael Miller came in the mail,
I knew it would be just perfect for this project.
(I'm a little embarrassed to admit that I already had all three flannels on-hand to use for the backer!) 
Luckily they matched well and saved me a trip to the store....I did however run out of matching thread...thank you Sarah for saving me! Once all stacked up and basted, I sewed row and rows of straight lines at a 45degree angle.  
Doesn't this look like a beautiful field of corn or beans from and areal view midsummer? 
Keep up this labor of love until all the fabric is a field of lovely lines. 
A walking foot really comes in handy for this part of the project;
it can certainly be completed with a regular machine foot, but the walking foot helps feet the fabric from above which is so great when sewing multiple layers.
Now...are you ready?  It's time to use a wonderful new tool that I'm hooked on...look out in-tact fabric because you are about to become chenille! 
This specialty rotary cutter has a bottom 'shield'-the elongated portion- that you slip above the 'featured fabric' and it cuts through the layers of flannel but protects that fun cotton!
What a brilliant idea! 
This is another thing that could be done without gadgetry, but....for me the tools of the trade are half the fun.  Keep slicing between all of your rows until you have something that looks a little like this:
Isn't that wonderful too? 
With each new step I hesitate to proceed to the next step, but once completed I fall in love with this project a little more! So...on to the next step...BINDING! 
I found yet another wonderful gadget to help with this phase. 
After sewing the perimeter of the blanket with binding, these little clips hold down the edge to be hand-sewn without a single pin-stick (and I know that makes ME want to cheer!) 
Now with the hands-on portion of the blanket complete, time to pop into the washer.  Then, you'll get to see this....
the finished product-faux chenille! 
Oh sewing, how rewarding you can be!

Friday, February 7, 2014

Coasters!

Fabric Square Coasters

I've had the same coffee table since back in my single days.  Before it was refinished last winter, the varnish was flaking off and there were rings...you know the ones...left behind from that pesky condensation on the outside of your glass when a coaster isn't used. Since I was the one to sand and stain and shellac that table, I wasn't about to see a repeat performance.  We had glass coasters, but they weren't in the best of shape and didn't really fit with our decor....so....I came up with these:  
Do you recognize the prints?  I chose some of the same fabrics used in the love quilt for Eric. Would you like to make some too? Here's a mini tutorial to help...

Supplies:
fabric scraps
cotton batting scraps
matching thread
(scissors, sewing machine, tape measure, and pins)

I wanted to have a 4 inch finished size, so I made cut two cotton squared 4.5 inches (to allow for seams)
The batting I cut into squares just a smidge larger than 4 inches (two for each coaster)
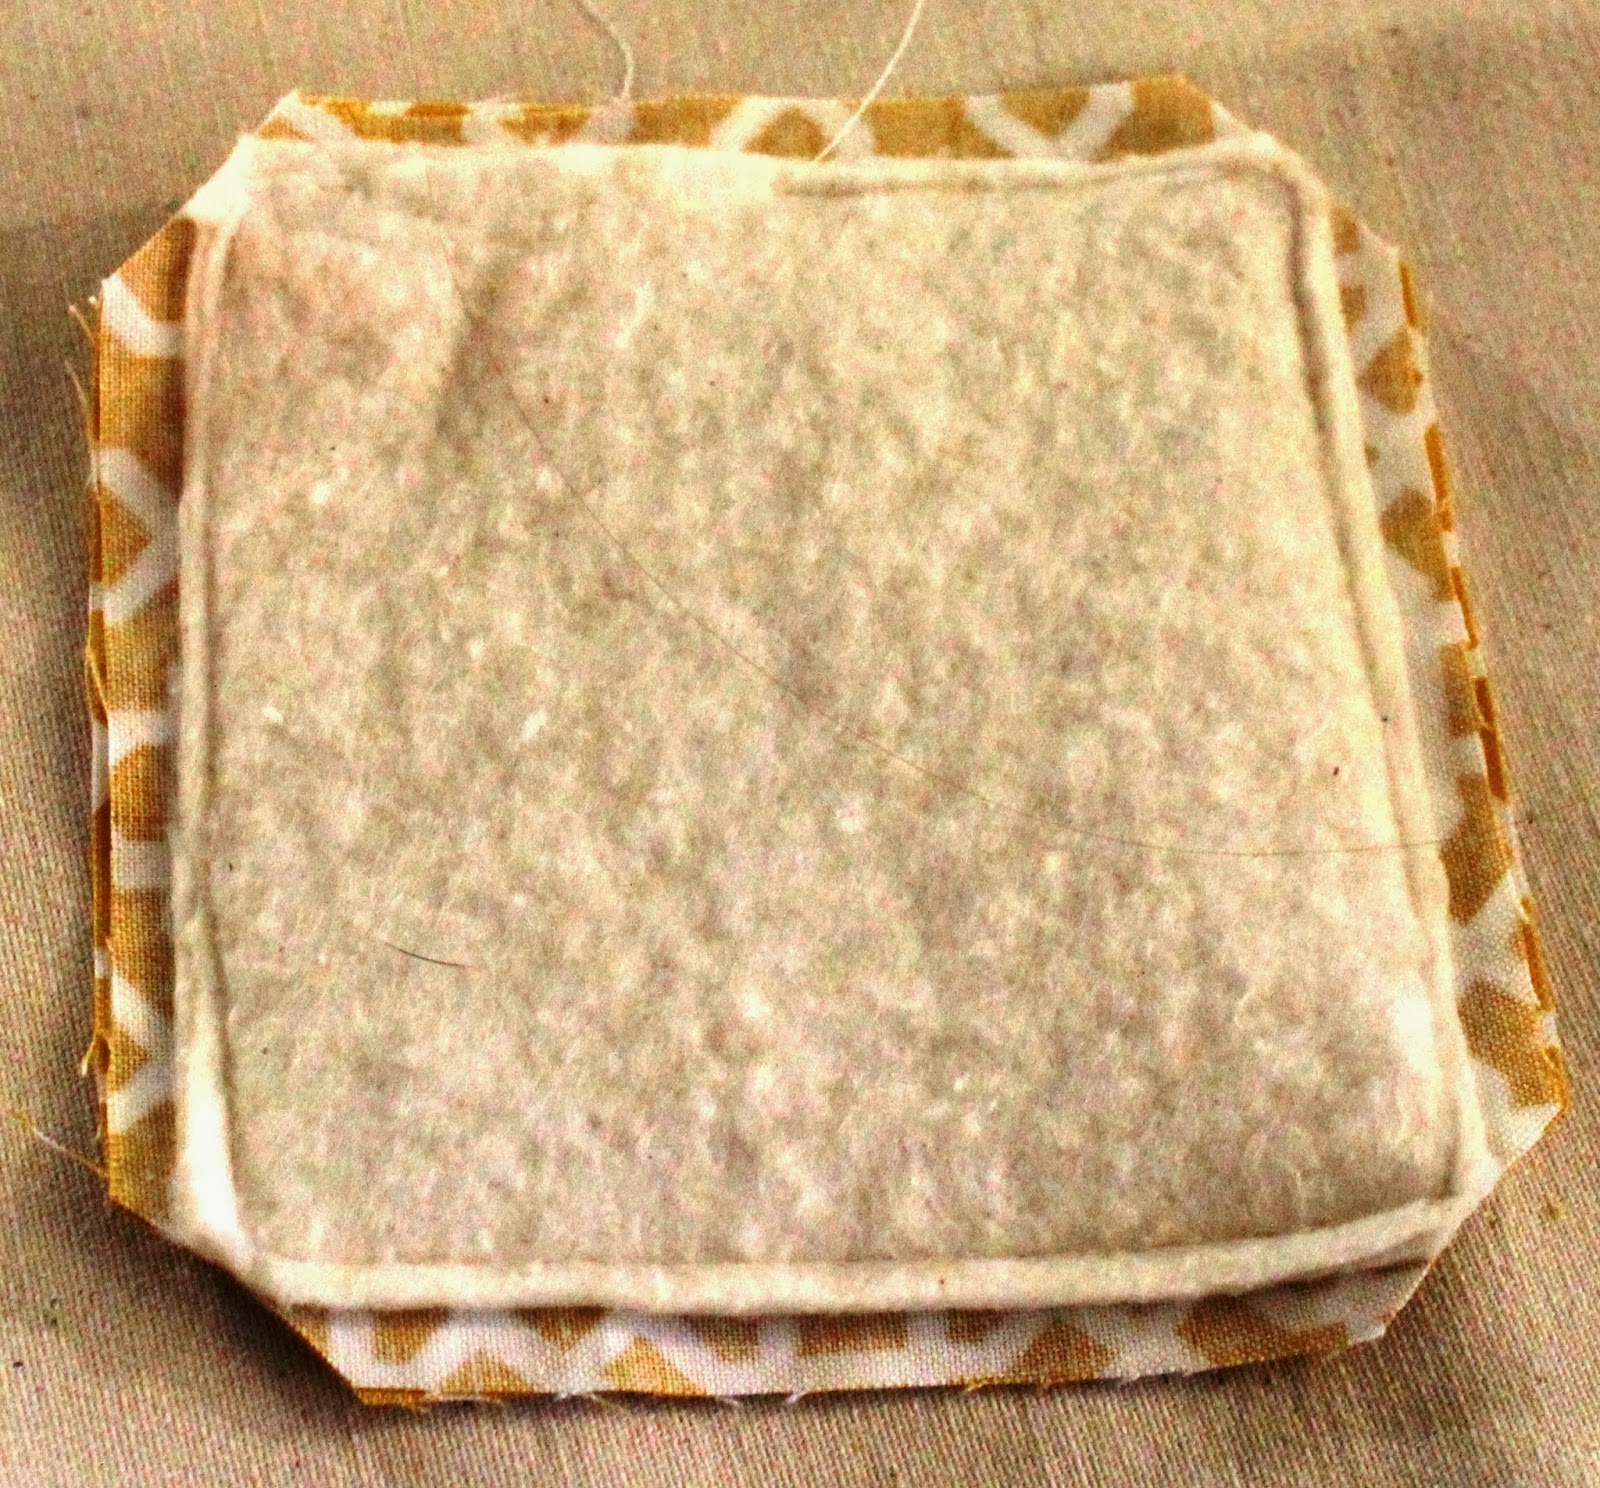
Next sandwich two cotton squares with the brighter sides (right sides) facing each other. 
Center your two batting squares atop, and pin the whole sandwich together. 
Now sew around the edges, BUT, leave a 1-2inch opening in one side of your coaster for turning inside out. 
Snip the corners close to
but not INTO the seams.  

Your are getting closer...Turn the piece right side out. 
To make the corners nice and crisp I used a knitting needle I had on hand to push those corners into a nice point. 
If you aren't a knitter, a pencil or pen would work well for this too!  Tuck in the open edge where you turned your coaster and try to line it up with the stitched edges. 
Blast that baby with the iron until it's nice and flat. 
Last step....top stitch close to the edge and whala!  You did it!
 (At this Auntie's home, these also double as toys.)


Saturday, February 1, 2014

Wooden Family

Now here's a story, of a lovely lady, 
who was bringing up three very lovely girls,
all of them had hair of gold, like their mother, the youngest one in curls....But, in THIS story the lovely lady has a wonderful husband
who is father to the three lovely girls and all of them (even the father) have that lovely golden hair.
So what better subjects to turn into wooden dolls? 
The Bigelow Family is one of my very favorites!  Mama Bigelow and I have been close friends for years and I've loved watching her family grow
and grow 
and GROW!  
Baby Bigelow #2 is extra special to me...
she is one of my Godchildren!  So, I made these wooden look-alikes for her new doll house. 
I can't wait to see how well they fit into their new home! If you'd like to see the REAL family,


Such a loving bunch, I'm so glad you're in my life!


Thursday, January 30, 2014

Snow Day! Snow Day! SNOW DAY!

I've been working in the same office for over 10 years now (hard to believe, but it's true!)  And, in all that time, this is the very first year I've had any days off for weather. 
 I've had not one, 
not two, 
but three full snow days! 
The first day was built igloos.
Just look at that light glowing in mine!
I had dreams for that candle...of the roof glassing over with ice...I definitely had better luck icing the outside with buckets of water...look at that sheen! 
Eric was super proud of the heftiness of his creation.
He swore it was bullet proof with those 2 foot walls. 
(I was more impressed that he could cram himself into that small space!)
So here's Eric prepping for the next creation...
 on the roof!
It was a tiny but mighty snowman perched on the peak.
Our poor little Myka wanted to be with us be really did NOT love the snow!
 We lost our power on the second snow day and spent some quality time with board games and cards by candlelight.
Oh what a treat it is to have snow days as adults!